The choice between vinyl and tile is secondary; true wet room safety for a senior is an engineering system where the floor’s specific barefoot rating, cleaning protocol, and integration with the room’s elements are the only factors that matter.
- A standard ‘R10’ anti-slip rating is insufficient and dangerous for a wet, barefoot shower area; a ‘Class C’ (DIN 51097) rating is the minimum technical requirement.
- The most common aesthetic choice—glossy, polished tiles—creates a nearly invisible water film, turning the floor into a « skating rink » for an unsuspecting user.
Recommendation: Prioritize flooring with a certified Class C barefoot slip resistance, maintain it with a strict two-stage cleaning protocol, and integrate it into a full safety system including proper drainage, ventilation, and correctly installed grab bars.
Choosing a new floor for a senior’s wet room often devolves into a simple debate: the warmth and comfort of vinyl versus the perceived durability and premium feel of tiles. This conversation, focusing on aesthetics and surface-level pros and cons, tragically misses the point. The question isn’t just about preventing a slip; it’s about engineering an environment that systematically reduces the risk of a fall, a leading cause of fatal injury for adults over 60. The common advice to simply « choose a non-slip finish » is dangerously inadequate.
The reality is that true safety is not a material property but a function of a complete system. It depends on the floor’s micro-topography, its certified performance when wet and barefoot, the way it’s cleaned, and how it interacts with light, water, and even the room’s heating. A high-end, expensive tile can be more treacherous than a basic vinyl if the wrong finish is chosen or if it’s maintained improperly. The biggest dangers often lie in the details that are overlooked in favour of visual appeal.
This technical guide moves beyond the simplistic « vinyl vs. tile » argument. Instead, we will deconstruct the physics and engineering principles of a genuinely safe wet room. We will analyze the critical, non-negotiable variables that make a floor safe for a senior, from understanding cryptic safety ratings to recognizing the fatal flaw in using a towel rail for support. The goal is to empower you to make decisions based on technical facts, not just showroom appeal, building a « safety ecosystem » where every component works to prevent a fall.
This article provides a detailed breakdown of the key safety considerations for a senior’s wet room. The following summary outlines the topics we will cover to help you build a truly secure space.
Summary: Vinyl vs Tiles: Which anti-slip flooring prevents falls best in wet rooms?
- Why an R10 rating is insufficient for a shower area used by seniors?
- How to clean anti-slip safety flooring without degrading the grip texture?
- Mats vs Treatments: what works on a slippery enamel bath without replacing it?
- The aesthetic mistake in bathrooms that creates a « skating rink » effect with water
- When to turn on underfloor heating to dry wet floors instantly?
- How to convert a downstairs room into a wet room under Permitted Development rights?
- The fatal error of using a heated towel rail as a grab handle
- Where to position grab bars in a small bathroom to maximize leverage?
Why an R10 rating is insufficient for a shower area used by seniors?
One of the most common and dangerous misconceptions in bathroom specification is relying on a standard ‘R’ rating (like R9 or R10) for a shower area. The ‘R’ value, determined by the DIN 51130 standard, measures slip resistance for shod feet in environments contaminated with oils and grease, such as commercial kitchens. It is entirely irrelevant for a wet room used by a barefoot senior.
The correct and only applicable standard is DIN 51097, which tests slip resistance for barefoot, wet areas. This test measures the angle at which a person slips on a ramp covered in water. The results are categorized into Class A (low), B (medium), and C (high). For a shower area, especially for a user with reduced mobility or balance, specifying anything less than Class C is a significant safety compromise. According to the DIN 51097 European standard, Class C offers efficient slip resistance up to an angle of inclination over 24°, providing a crucial margin of safety.
This micro-topography, the engineered peaks and valleys on the flooring surface, is what provides mechanical grip for bare feet. An R10 tile might feel rough to the touch, but its texture is not designed to channel water away from the sole of a foot in the same way. As leading industry guidelines confirm, the standard is unambiguous.
Floor finishes to wet barefoot areas (showers, wet change facilities, swimming pool steps and surrounds etc) must be slip resistant when wet and should use floor finishes that achieve either category ‘B’ or category ‘C’ slip resistance when tested by DIN51097 Wet Ramp Test.
– Johnson Tiles Technical Guidelines, HSE Slip Resistance Guidelines for Barefoot Areas
How to clean anti-slip safety flooring without degrading the grip texture?
Installing a high-grip, Class C safety floor is only the first step. The long-term safety of the surface is entirely dependent on correct maintenance. Improper cleaning is the number one reason why safety floors fail, as it creates a « contaminant film » of soap scum, limescale, or cleaner residue. This film fills the essential micro-topography of the floor, effectively turning a high-friction surface into a smooth, dangerously slick one.
The goal of cleaning is not just to sanitize, but to extract all contaminants from the floor’s textured profile. This requires a specific two-stage process, not just a casual mop. Using products containing waxes or silicones is strictly forbidden, as they are designed to create a shiny, low-friction film. Likewise, using abrasive scouring pads or polishers can physically grind down the grip texture, permanently destroying the floor’s safety properties.
A disciplined cleaning routine is a non-negotiable part of the wet room safety ecosystem. For seniors or their caregivers, establishing a simple, repeatable protocol is key to ensuring the floor performs as designed for its entire lifespan. The following checklist outlines the professional-grade procedure for maintaining maximum grip.
Your Action Plan: The Two-Stage Protocol for Preserving Floor Grip
- Stage 1 – Agitation: Use a pH-neutral cleaning solution with a medium-bristle brush. The goal is to mechanically scrub and lift contaminants (like soap scum) out of the texture’s peaks and valleys.
- Stage 2 – Extraction: Thoroughly rinse the entire area with clean, fresh water or, ideally, use a wet-vacuum. This removes all suspended dirt and cleaning residue. Leaving cleaner residue behind is as dangerous as the original dirt.
- Avoid Harmful Chemicals: Never use cleaning products that contain waxes, acrylic polishes, or silicones. These are designed to leave a film that will make the floor dangerously slick.
- Use Proper Tools: On larger areas with an auto scrubber, always use soft brushes. Never use polishing pads, which can grind down the slip-resistant grit and permanently damage the floor’s safety texture.
- Perform Periodic Deep Cleans: To restore factory-finish grip, occasionally use a specialized alkaline degreaser to break down stubborn soap scum or a dedicated acidic descaler for heavy limescale buildup, following manufacturer instructions.
Mats vs Treatments: what works on a slippery enamel bath without replacing it?
For existing bathtubs or shower trays with a dangerously slick enamel or acrylic surface, replacement is not always necessary. Two common solutions are suction-cup bath mats and professional chemical anti-slip treatments. For a senior user, the choice between these two options has profound implications for daily safety, hygiene, and maintenance burden. While a bath mat seems like a simple, low-cost fix, it often introduces more hazards than it solves.
Bath mats with suction cups require daily removal, cleaning, and drying to prevent mold growth and dirt accumulation underneath, a task that can be difficult for someone with reduced strength or mobility. Over time, the suction cups lose their grip and the edges can curl, creating a significant trip hazard at the exact moment a person is in a vulnerable position. In contrast, a professional chemical treatment etches a micro-texture directly onto the tub’s surface, creating permanent grip without a physical object to trip over.
Case Study: The Hidden Dangers of Bath Mats
Accessibility experts at AgingCare conducted numerous assessments for senior bathroom modifications and consistently recommended against standard bath mats. One documented case involved a senior who experienced a serious fall caused specifically by a bath mat bunching up underfoot during a transfer. The experts noted that even mats with suction cups lose their effectiveness over time and create an unacceptable ongoing maintenance burden for seniors, recommending adhesive anti-slip strips or professional surface treatments as far safer, more hygienic, and « fit-and-forget » alternatives.
The following table provides a technical comparison of the two approaches, evaluated from the perspective of a senior prioritizing long-term safety and ease of use.
| Criterion | Bath Mats (Suction Cup) | Professional Chemical Treatment |
|---|---|---|
| Durability | Suction cups fail over time, edges curl creating trip hazards | Lasts for years, bonded directly to surface |
| Daily Maintenance | Requires daily removal, cleaning, and drying to prevent mold | Minimal maintenance, stays smooth and easy to clean |
| Hygiene Risk | Traps dirt and mold underneath, becomes unhygienic over time | Seamless surface prevents dirt trapping, remains hygienic |
| Sensory Feel | Cushioned but unstable underfoot, masks surface sensation | Maintains solid feel of tub, better for users relying on tactile feedback |
| Installation | Simple DIY placement | Professional application with curing period required |
| Cost Analysis | Low upfront cost, high daily maintenance burden | Higher upfront cost, fit-and-forget solution for several years |
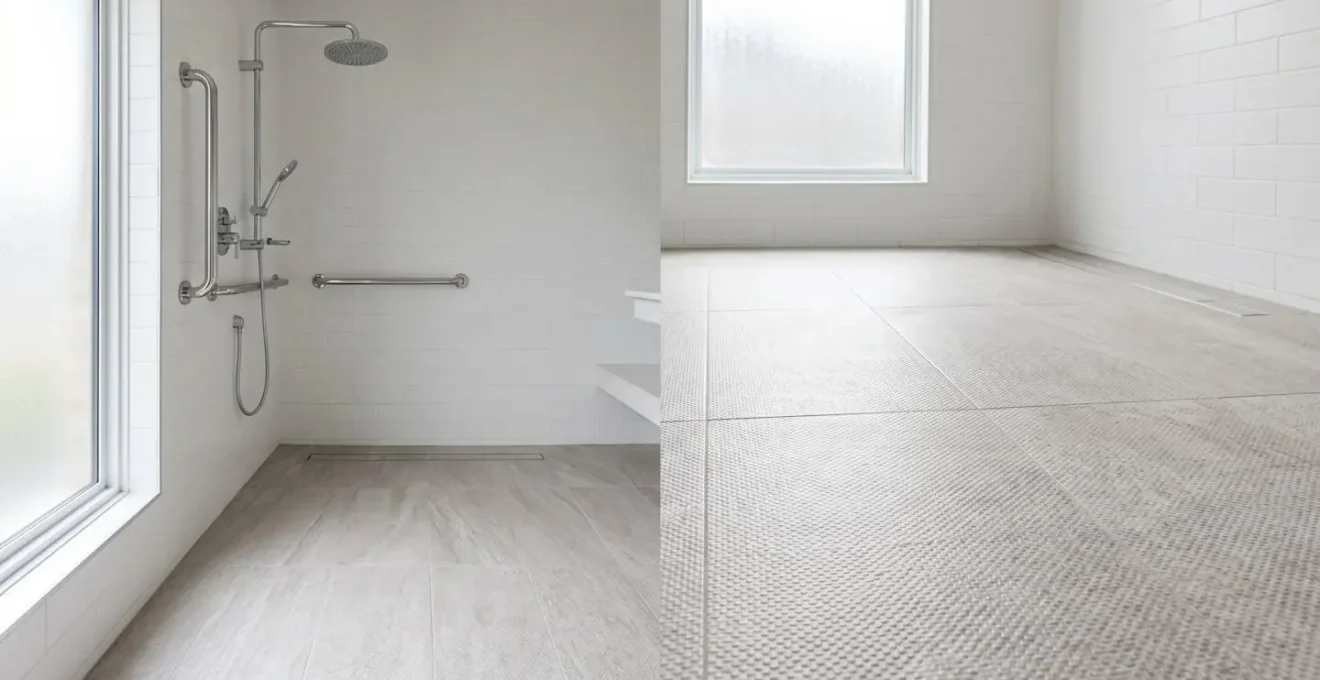
The aesthetic mistake in bathrooms that creates a « skating rink » effect with water
The single most dangerous aesthetic choice in a senior’s bathroom is opting for high-gloss, polished floor tiles. While they may look luxurious and clean in a showroom, they create a treacherous optical illusion when wet. This choice prioritizes shine over safety, directly contributing to the risk of falls, which are a major public health concern. Indeed, research from the World Health Organization confirms that adults older than 60 suffer the greatest number of fatal falls, with bathrooms being a primary location for these incidents.
The problem is one of physics and light. A matte or textured tile has a surface that diffuses light. When water splashes onto it, the water darkens the surface, making the wet patch clearly visible. This visibility acts as a natural warning sign, prompting caution. A high-gloss tile, however, acts like a mirror. Its surface creates specular reflection. A thin, clear film of water on this surface is often completely invisible, as it reflects light in the same way as the dry tile around it. This creates a « skating rink » effect, where the user has no visual cue that they are about to step onto a zero-friction surface.
The Coefficient of Friction (COF) of a tile measures its slipperiness. Glossy tiles inherently have a very low COF when wet because their smooth surface allows water to create a perfect lubricating film. A matte-finish tile, by contrast, has a micro-roughness that provides better grip and a higher COF. For a senior with potentially declining eyesight or slower reaction times, choosing a floor that makes hazards invisible is a catastrophic error.
When to turn on underfloor heating to dry wet floors instantly?
Underfloor heating (UFH) is often viewed as a comfort-enhancing luxury, but in a senior’s wet room, it should be re-framed as an active safety system. Its primary safety function is not warmth, but proactive drying. By gently heating the floor, UFH accelerates the evaporation of water splashes and residual moisture after a shower, drastically reducing the time the floor remains a slip hazard. The key to unlocking this safety feature is not manual operation but automated, proactive scheduling.
Relying on a senior, who may have memory challenges, to remember to turn the heating on and off is not a reliable safety strategy. Instead, a smart thermostat should be programmed to activate the UFH automatically for a 30-60 minute period immediately following the user’s typical shower time. This turns the entire floor into a low-temperature drying surface, actively removing the hazard without any user intervention. This system is most effective with conductive flooring materials like tile or luxury vinyl tile (LVT), which efficiently transfer the heat to the surface.
For a complete room-drying system, the UFH should be paired with a humidity-sensing extractor fan. The heating evaporates the water from the floor into the air (evaporation), and the fan then automatically activates to expel the moist air from the room (extraction). This two-part system not only keeps the floor dry and safe but also prevents the build-up of mold and mildew, which can cause respiratory issues and material degradation. Modern smart thermostats can also monitor energy usage, ensuring this active safety measure remains cost-effective.
How to convert a downstairs room into a wet room under Permitted Development rights?
Converting a ground-floor room, such as a small study or closet, into an accessible wet room can be a life-changing adaptation for a senior, often achievable under Permitted Development rights in the UK (meaning planning permission may not be required for internal works). However, the technical execution must be flawless to prevent catastrophic water damage and ensure safety. A successful conversion is not about surface finishes; it’s about adhering to the foundational principles of waterproofing and drainage.
The first and most critical principle is « the tanking imperative. » The entire room—floor and walls up to a certain height—must be turned into a completely sealed, waterproof ‘tank’ using a membrane system. Simply using waterproof tiles is not enough; grout is porous, and any small crack can lead to leaks. Secondly, « the gradient law » must be obeyed. The floor must be built with a minimum slope, typically between 1:40 and 1:80, precisely angled to ensure every drop of water flows directly to the drain without pooling.
Finally, the « airflow equation » dictates that a high-power mechanical extractor fan is non-optional. It is essential for removing moisture-laden air, preventing the growth of mold that can cause respiratory problems, and stopping dampness from degrading the building structure. The integrity of the subfloor is also paramount; a timber subfloor requires different preparation (e.g., marine-grade plywood) than a concrete slab to prevent flexing that can crack tiles and compromise the waterproof membrane.
Key takeaways
- True fall prevention in a wet room is an engineered system, not just a choice of material.
- The correct barefoot slip resistance rating (DIN 51097 Class C) is a non-negotiable technical requirement, and standard ‘R’ ratings are irrelevant.
- Fixture function over form: Grab bars must be rated for dynamic loads and installed into studs, while towel rails are a fatal illusion of safety.
The fatal error of using a heated towel rail as a grab handle
In the split second of a slip, the human brain instinctively reaches for the nearest object that affords support. In a bathroom, this is often a heated towel rail. This is a fatal error, born from a critical misunderstanding of physics and engineering. A towel rail feels sturdy, is often at a convenient height, and its warmth creates a powerful psychological affordance of safety and stability. This is a deadly illusion.
The crucial difference lies in the concept of static vs. dynamic load. A towel rail is engineered to support a static load of 5-10 kg (the weight of wet towels). Its fixings are typically small screws into plasterboard. A grab bar, by contrast, must be engineered to withstand a sudden, massive dynamic load. The force of a 90 kg person falling is not 90 kg; it is a shock load that can exceed 150 kg. Bathroom accessibility safety standards require properly installed grab bars to handle dynamic loads over 150 kg, while towel rails are designed for a mere 5-10 kg static load.
When a person grabs a towel rail during a fall, the inadequate fixings will instantly tear from the wall. The rail does not just fail to stop the fall; it accelerates it. The user’s own weight and momentum, now combined with a detached, hot metal object, contribute to a more severe impact. This is not a simple fixture failure; it is a catastrophic event where a perceived safety object becomes an active hazard. It is therefore imperative that towel rails are never positioned where they might be instinctively grabbed in an emergency, and that certified grab bars are installed in their place.
Where to position grab bars in a small bathroom to maximize leverage?
In a wet room, grab bars are not decorative accessories; they are critical pieces of safety engineering. Their effectiveness depends entirely on their correct placement, which should be determined not by aesthetics but by the specific dynamic movements a senior needs to perform. Rather than simply placing bars where there is a spare patch of wall, a functional approach is required, categorizing bars by the type of movement they support.
First is the Push/Pull Bar, essential for transfers. A diagonal bar installed at a 45-degree angle next to the toilet provides optimal leverage for the sit-to-stand motion, allowing the user to both push up and pull themselves forward. Second is the Pivoting & Stabilizing Bar. A vertical bar positioned at the shower entrance is crucial. It provides a stable anchor point for the hand while stepping over a small threshold or turning in a tight space, moments when balance is most precarious.
Third is the Translational Bar. A horizontal bar mounted along the wall between fixtures (e.g., from the sink to the toilet) provides a continuous handhold for support during lateral movement across the room. The exact placement should be determined by conducting a « dry run » with the actual user, marking the wall at the precise points where their hand naturally falls for support during key movements. For users with vision impairment, ensuring a high color contrast between the bar and the wall is another crucial layer of safety, making the bar instantly identifiable.
To apply these principles effectively, the next logical step is a professional assessment of your specific bathroom space to engineer a complete and truly safe wet room system based on the user’s unique needs.